Install Guide (macOS)
This guide will walk you through installing and setting up Railyard on macOS.
Step 1 - Downloading Railyard#
To install Railyard on macOS, navigate to the download page. You should see a button with the auto-detected download for your operating system.
Step 2 - Dequarantining Railyard#
First Launch#
When you first try to open Railyard, macOS will show a dialog saying the app "can't be opened because Apple cannot check it for malicious software." This is expected for unsigned apps.
Option A: Right-Click to Open (Recommended)#
- Open Finder and navigate to Applications.
- Right-click (or Control-click) on Railyard.
- Select Open from the context menu.
- A dialog will appear with an Open button — click it.
You only need to do this once. After the first launch, you can open Railyard normally.
Option B: System Settings#
- Try to open Railyard normally (it will be blocked).
- Open System Settings > Privacy & Security.
- Scroll down to the Security section. You should see a message about Railyard being blocked.
- Click Open Anyway and confirm.
Option C: Terminal#
If neither option above works, you can remove the quarantine attribute:
xattr -cr /Applications/railyard.appThen open Railyard normally.
Install from ZIP#
If you prefer not to use the DMG:
- Download
railyard-macos-universal.zipfrom the download page. - Extract the ZIP (double-click it in Finder).
- Move
railyard.appto your Applications folder. - Follow the First launch steps above.
Uninstalling#
Drag Railyard from Applications to the Trash. To remove app data:
rm -rf ~/Library/Application\ Support/railyardStep 3 - Setting Up Railyard#
When you first launch Railyard, you will be asked to select your metro-maker4 folder.
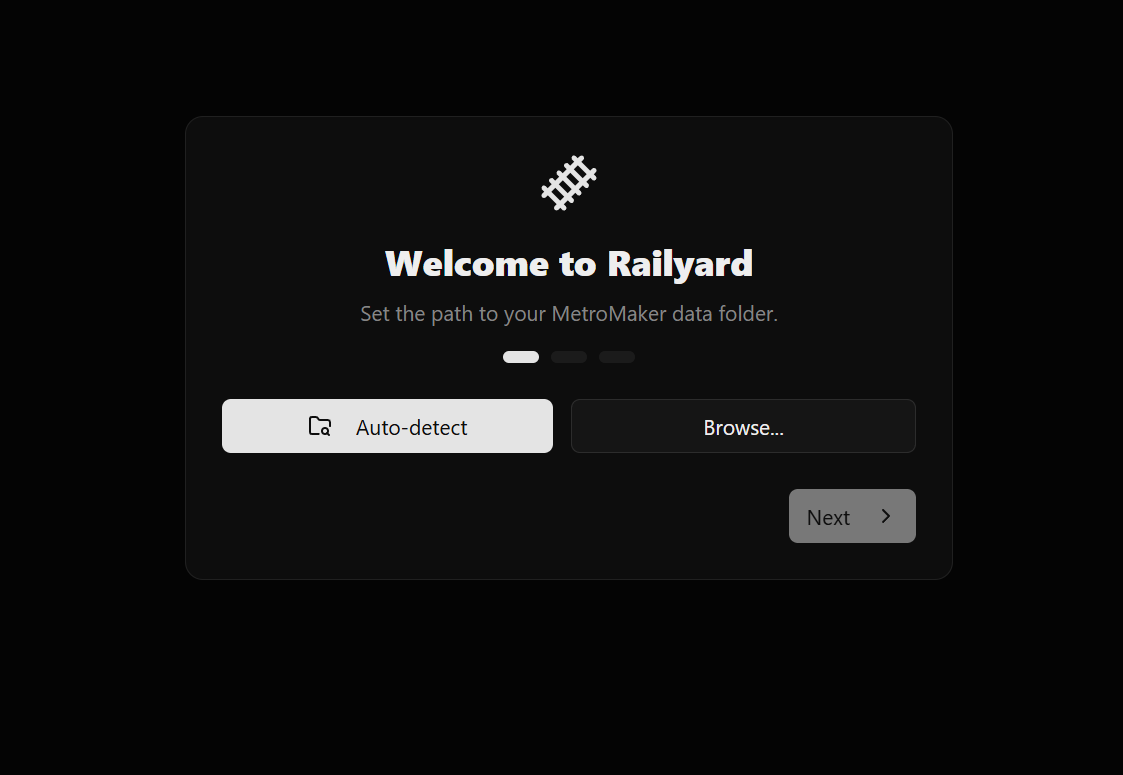
If you did not manually modify this, click "Auto-Detect". Otherwise, select the location of this folder. Railyard will automatically validate it.
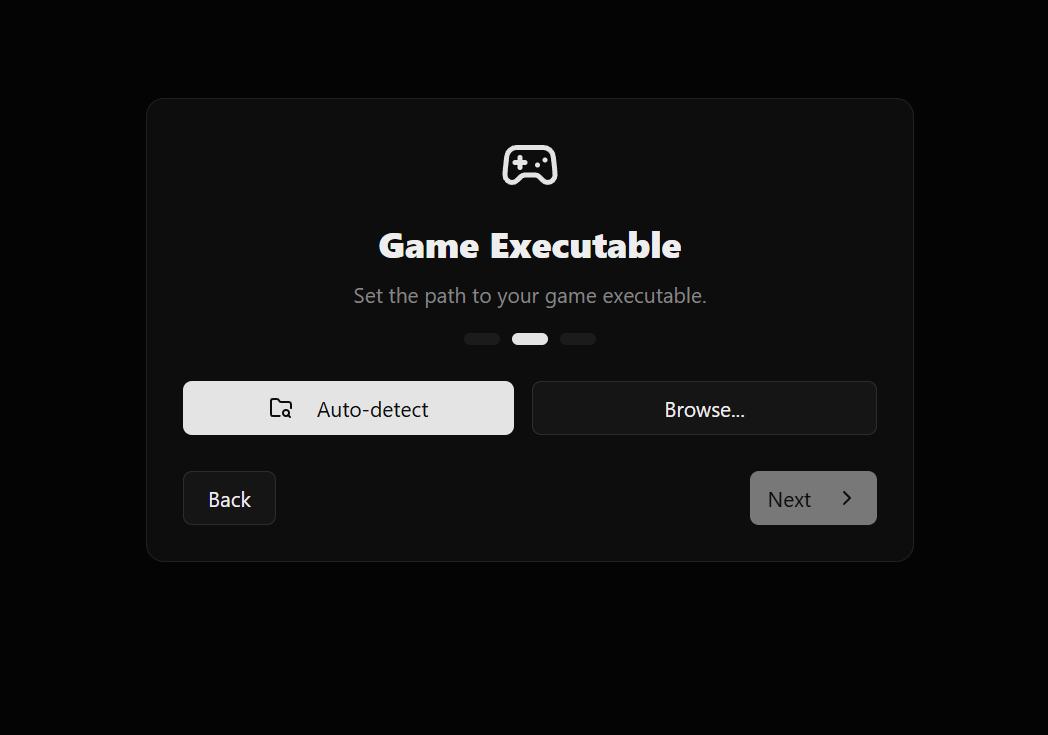
After, you will be asked to select your game executable. Once again, click "Auto-Detect" if you have not modified this. Otherwise, select the location of your game executable.
The next prompt will ask you to input your GitHub token. This is optional, but recommended to avoid hitting GitHub's API rate limits when using Railyard. If you do not have a token or do not wish to use one, simply click "Next" to continue with the setup process. You can always add a token later via the settings menu. To set up a GitHub token, see the GitHub Token guide.
The final prompt will ask you whether you want to enable automatic updates. This will allow Railyard to prompt you every time a new version is released, allowing you to easily stay up to date with the latest features and bug fixes.
Note
It is recommended to keep this enabled to ensure you have the latest features and bug fixes. This can be toggled at any time via the settings menu.
After that, you're ready to play! If you have any questions or run into any issues, feel free to ask questions in the Discord or raise an issue on GitHub.